
How To Make Your Own Electric Bike
Electric motorcycles have been among us for a while now but are still not commonly seen on the streets. the main reason being the unavailability of charging stations on the streets. But the recent announcement of government policies is favoring the production and sale of the electric vehicles creating a huge space in the electric vehicle industry that will soon be filled by new upcoming companies. But if you are an enthusiast and are still on a curiosity voyage of how it feels like riding one of those and also how to build your own then follow this article and you will get a rough idea of how to build your own electric motorcycle!

To start off you need to gather parts!
Here is the list of the main components you need to build an electric bike.
The electrical components are:
Motor.
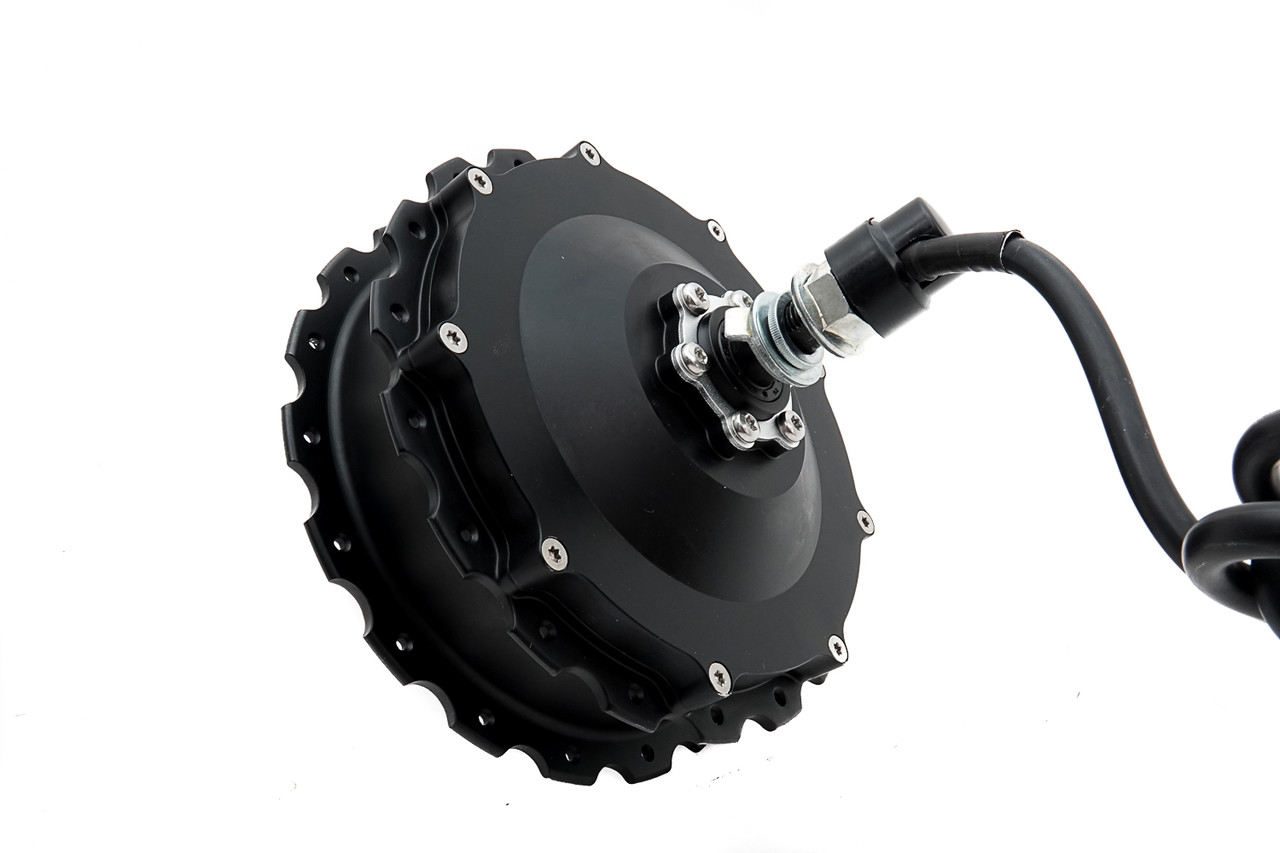
This is a 1250W 48V brushless hub motor. The specialty of this kind of motor is that its an outrunner. Meaning that its inner coil is stationary and the outer body rotates. This motor is supposed to be 98% efficient.
Controller.

This is a 48V brushless motor controller. It’s capable of handling current up to 70A. This is the main component of the electronic system as it controls the speed of the motor which again determines the speed of the bike.
Battery

The batteries I’ve used for this electric bike project is a pack of 4 of 12V 24V lead-acid battery. The battery is a major component of the bike. The lithium-ion batteries cost a lot but are definitely worth the price as they can charge way faster than the traditional lead-acid batteries and have a thousand times more recharge capacity. All these benefits and still 1/4th the weight and size. There are cheaper alternatives available which you can use to reduce the cost of the project but I wouldn’t recommend it as it would drastically increase the weight of the bike and make it difficult to balance. A lithium-ion battery is definitely the best choice but you can always be creative with your own ideas. I will also be upgrading to lithium-ion soon.
LCD Display
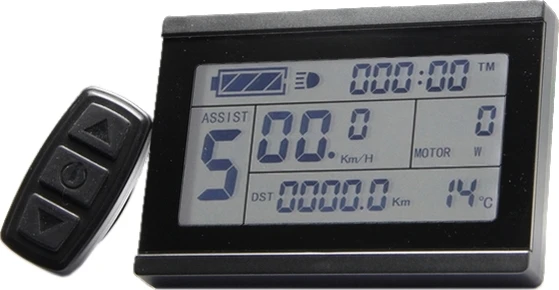
The display I've used here is a KT-LCD3 module.
- Data display: it shows the riding speed, a single mileage, and cumulative mileage, riding time, power-assist gear, motor power and temperature, battery voltage and charge status, brake status, and the used ambient temperature and other cycling parameters;
- Intelligent power: a true reflection of the battery charge, real-time recording of the power consumption to ensure riding mileage
- Stalls setting:multi-gear switch and automatic save of the power-assist gear, and it can restore power-off stall state when turned on
- Parameter setting: with several user parameter setting functions, motor parameters, velocity measurement parameters, speed-limit parameters, power parameters, power-assist control parameters, the minimum controller voltage, and maximum current parameters and other operating models for settings adjustment ;
- Data view: Users can view historical driving data and clear accordingly, view single or cumulative riding time, riding mileage, maximum speed and average speed of single riding;
Brake levers.

These brake levers have a tiny switch between the liver and the coupler that play a very vital role. When the brake is pulled it signals the controller to cut off the power supply to the motor. That results in making the bike very safe and easy to stop.
Throttle.
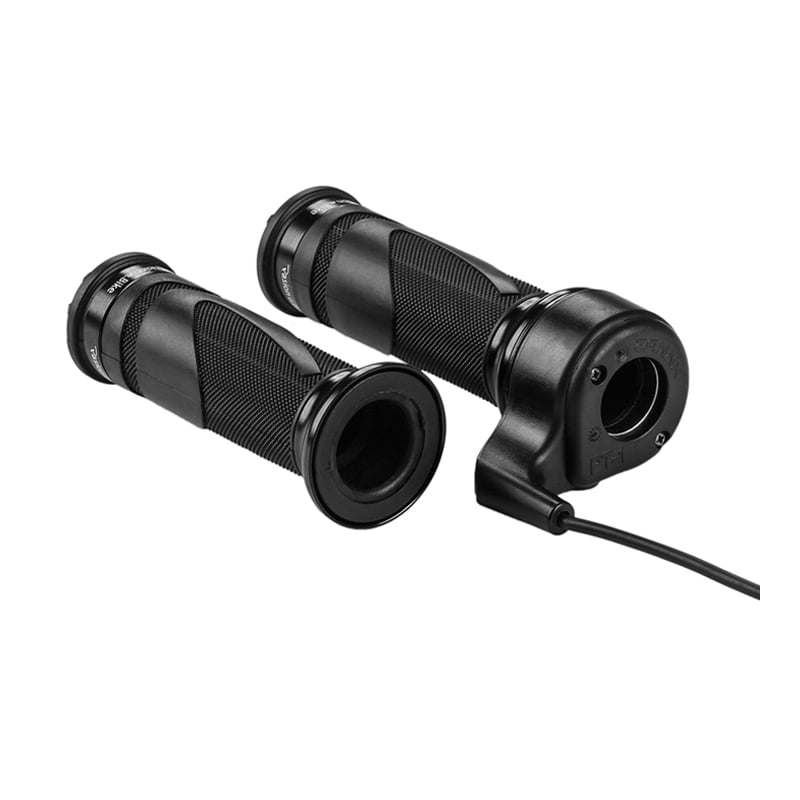
The throttle is basically based on a simple three-pin potentiometer encased in a user-friendly body. The throttle also acts as a battery indicator by dividing the battery charge into four units. The full charge of the battery is indicated by a green light which reduces to yellow and then red with the gradual consumption.
Some extra components that will be needed for the bike are
Charging socket - female 
A power cut switch.

Wire

The body
For the body of the electric bike, I've used an old chassis of an RX-100 bike that I purchased from a scrapyard for bargain prices and modified the frame to adapt to the battery compartment and other accessories.
I had to do a lot of fabrication work to make it look better.

Later I installed all the components in the frame and It took its shape.


The electric bike is capable of reaching speeds up to 70 KMPH and has a range of up to 60km in one charge but that will be increased when I upgrade the batteries to lithium-ion.
Also check out my other blog on how to make an electric walking bike by clicking here!


0 Comments