

Step 1: Ingredients
Electronic parts needed to build the RC plane:
- servos - (if you bought it) you will need at least 3 servos (two in the wings, and one for the elevator)
- to control the RC plane we need a transmitter and receiver
- the main things are the brushless motor, ESC
- the power source - battery
- batteries for transmitter
- wires
- wires MALE to FEMALE
Other parts:
- screws
- propeller
- motor mount
- hook and loop fastener
- other parts you need to make the fuselage of the RC plane or to complete it
You will also need:
- soldering iron - to solder the wires of the RC plane electronics.
- solder
- screwdriver
- scissors
- hot glue gun
- hot glue
- heat shrink
Skills needed:
- soldering
- crafty!
I would suggest buying the RC plane parts from websites like amazon for trusted products.

The building material of the RC plane would be these depron sheets that you can buy online.

Step 2: Plans
there are plenty of RC plane designs available online you can download and use as a precise template for your plane. here I've listed one such design you can download and use for free! thanks to https://www.flitetest.com !
just go to the following link and download your free plans!
How To: Print Flite Test Plans

Full-Size Plans
Print out all the templates of the RC plane plans.
Print Area: 22 x 34 inched (559 x 864 mm)
ANSI D: 22 x 34 inches (559 X 864 mm)
ISO A1: 594 x 841 mm (23.4 x 33.1 inches)
The plans are formatted so that they can be printed in black-and-white and still provide the builder with the important information they need to cut and fold all the parts for the design. Printing in black-and-white will typically cost significantly less than full-size color prints. Each sheet includes a scale in the upper-right corner of the page in inches and millimeters. Measure your printed plans to make sure that the scale is correct before you pay for your prints and leave the store. The full-size plans also include a title sheet and a drawing key. Most builders will choose to print these two pages out on their home printers. But, if you are having a print service make them, they can be printed on ANSI A (US Letter) or ISO A4 size paper.
Tiled RC Plane Plans
The actual print area of the tiled plans is 7.5 x 10 inches to accommodate printing on both ANSI A (US Letter) and ISO A4 size paper without any scaling or sizing issues. This allows me to make one set of tiled plans that should work with most home and office printers almost anywhere in the world.
Print Area: 7.5 x 10 inches (190.5 x 254 mm)
ANSI A: 8-1/2 x 11 inches (216 x 279 mm)
ISO A4: 210 x 297 mm (8.27 x 11.7 inches)
Now, on to the how-to...
Printing plans for the RC plane
The biggest mistake people make when printing the tiled plans is to try printing them directly from a web browser (i.e. chrome, safari, explorer, etc.). For most PDF documents, printing from the web browser is perfectly acceptable. However, for printing technical drawings at a precise scale they simply do not give you enough control to achieve the desired results. NEVER print your plans from your web browser. ALWAYS download the files to your device and print them.
Software
There are several software applications available that will open, view and print PDF documents. I always recommend people to use Adobe Reader for printing plans. There are a couple of reasons why. First, Adobe owns the PDF format, and their software just works. It's also free for anyone to download and use the viewer. Finally, I've been using it for years and I'm comfortable with it and the setting required to get the best results. You can feel free to experiment with other software if you choose, but I will be giving you directions on how best to print the RC plane plans with Adobe Reader. If you find other methods and software that work as well or better, please share it. If you don't already have Adobe Acrobat Reader DC installed, you can get the latest version here: https://get.adobe.com/reader/
I'm going to assume that you have the latest version of Adobe Acrobat Reader DC installed, you have downloaded the plans that you want to print, and have opened the RC plane plans in Adobe Reader.
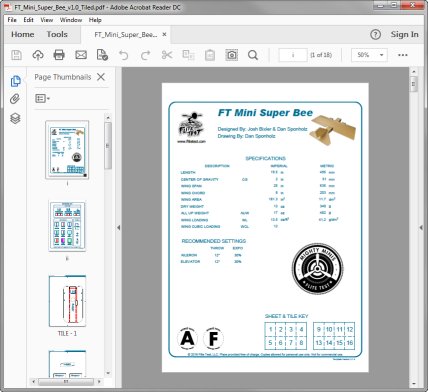
With the file open select print from the toolbar or the File menu. Adobe will display the following Print dialog box.

Properties - use to change settings specific to your printers such as paper type and print quality. I often print my RC plane plans to card stock to make templates. Look for a future article on making card stock templates.
Save ink/toner - this setting can cause unexpected results such as missing lines or text. make sure this is unchecked.
Custom Scale - I have found this setting to give the best, most accurate results for scale. After printing, measure the included scale on one or more of the printed pages to check for accuracy. If you need to make a fine adjustment to get your prints to the correct scale, this is where you will do it.
Choose paper source by PDF page size - Make sure this is unchecked and you have manually selected the correct paper size for your printer. Leaving this checked can cause some minor scaling issues.
Orientation - make sure this is set to the Auto portrait/landscape. This setting also centers the print area on the paper. Not using the Auto setting can cause one or more edges of your print to get cropped.
Print the file and measure the scale to be sure that the print scale is accurate. If it's off a little, first double-check all the above settings. If they are all set correctly, you can try tweaking the custom scale factor to dial in your printer. A slight variation in scale won't have much of an impact on your builds. However, if the scale is off by 1/8 to 1/4 inch or more, you will not have a very enjoyable build process of the RC plane.
Step 3: cut out parts of the frame out of depron sheets
Supplies:
- Scotch Tape
- Adhesive
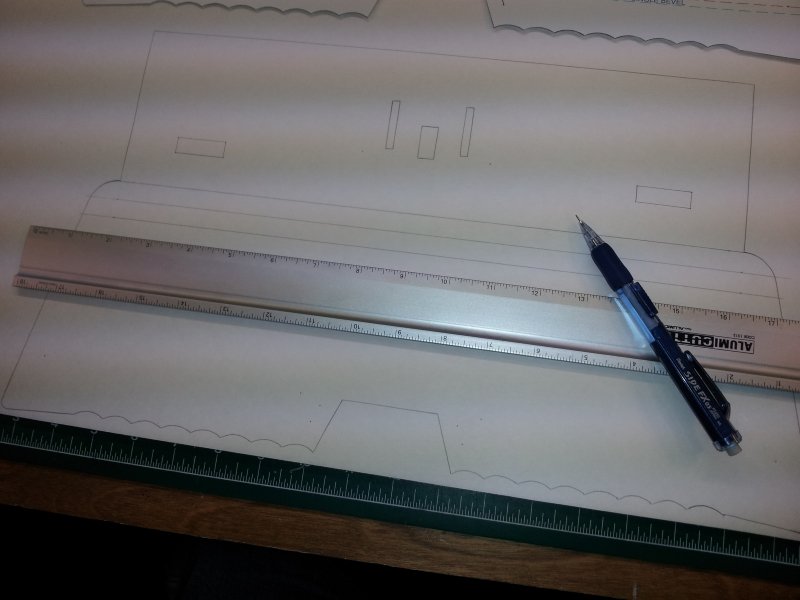
- Mechanical Pencil (.7mm works best)
- Straight Edge (preferably metal)
- X-Acto or Utility Knife


Making Your Templates:
- Print out the full-sized or tiled RC plane plans.

- If you are printing the tiled plans you will need to cut and tape together the individual tiles.

- Cut-out the individual pieces from the paper plans leaving roughly 1/2" - 3/4" around the outside of each piece

- Glue the individual pieces to depron sheets. Use a generous amount of glue on the backside of the paper and carefully place them on the poster board.
- Note: Most of the poster board that I use is 22 in x 28 in. Foam board is usually 20 in x 30 in. In some cases, there will be parts that can fit on a sheet of foam board but cannot fit on a single piece of poster board. You can splice two pieces of poster board together with tape for these larger pieces.

- Cut out the poster board templates for each piece on the cut lines using an X-Acto or utility knife. Take your time with this step. Use a straight edge to cut the straight sections for the best results...

- Cut out any openings on the inside of the part (i.e. servos, formers, etc.)

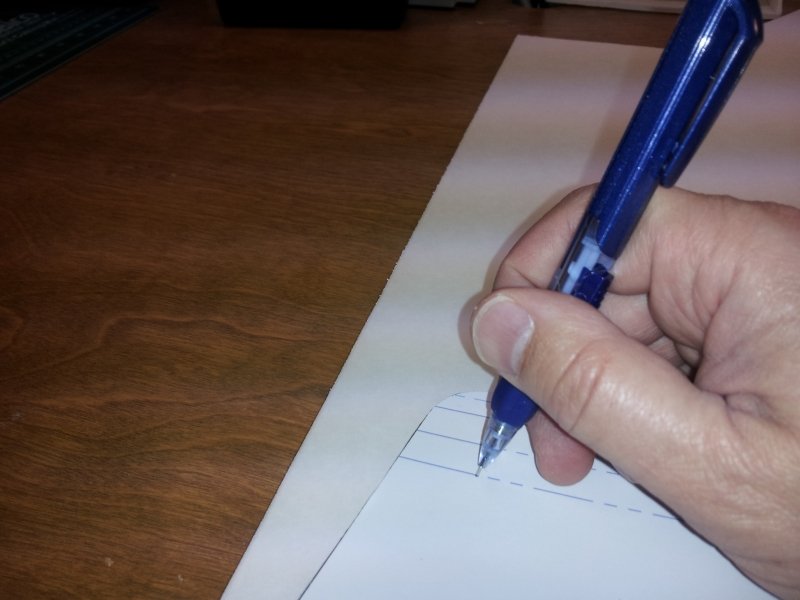
- Poke pinholes through the score, crease, reference, and control horn lines. At a minimum, put two holes in each line near the ends of the line. I place a scrap piece of foam board under the poster board to make the pinholes.


- (Optional) Label each piece with the RC plane name, part name, quantity, left/right hand, etc. This will make it a lot easier to know what parts go to what airplane if they get left out or mixed up later on. If you are using any of my plans than I've already done all the work for you.


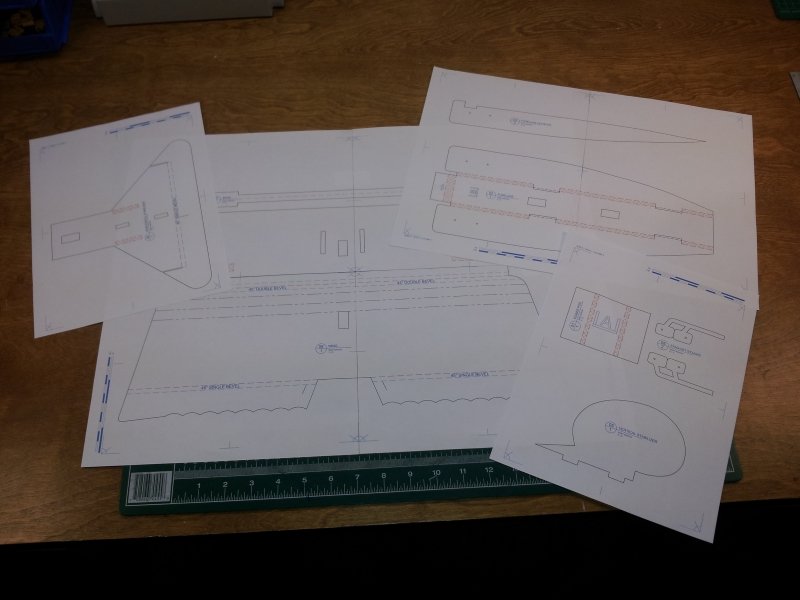


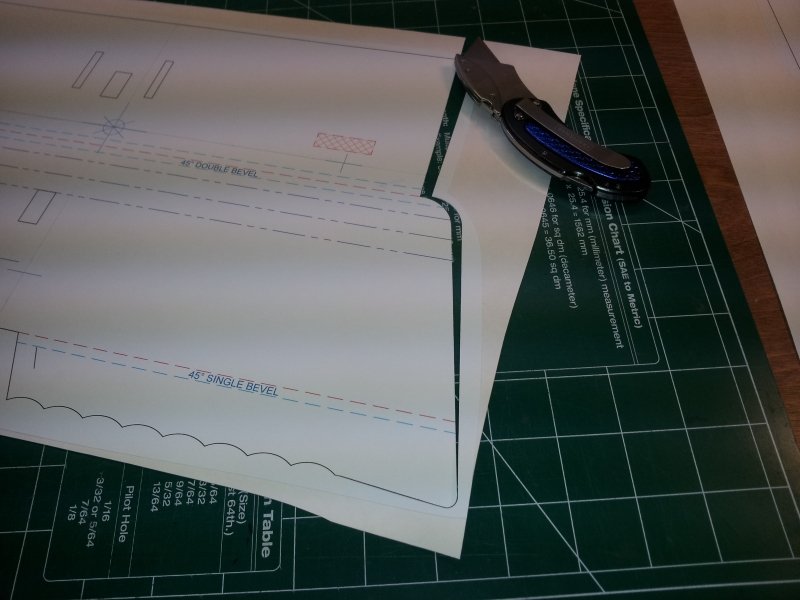
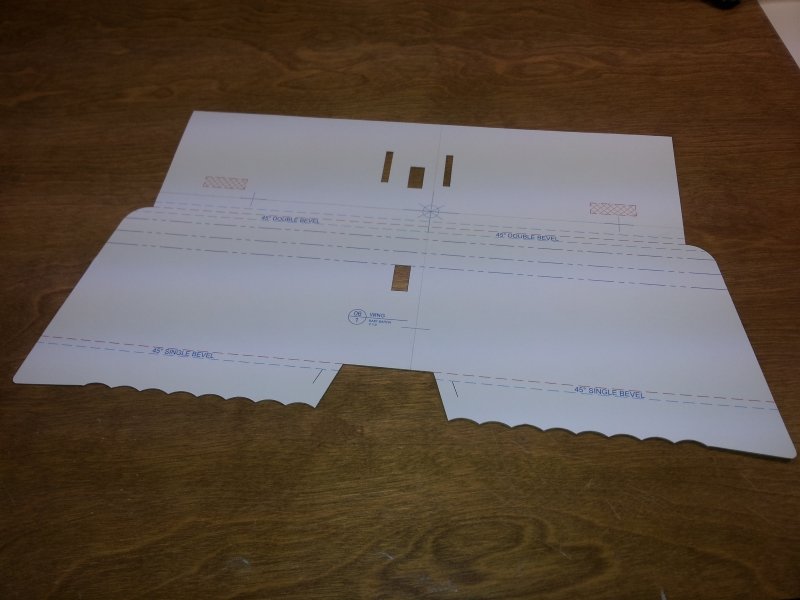

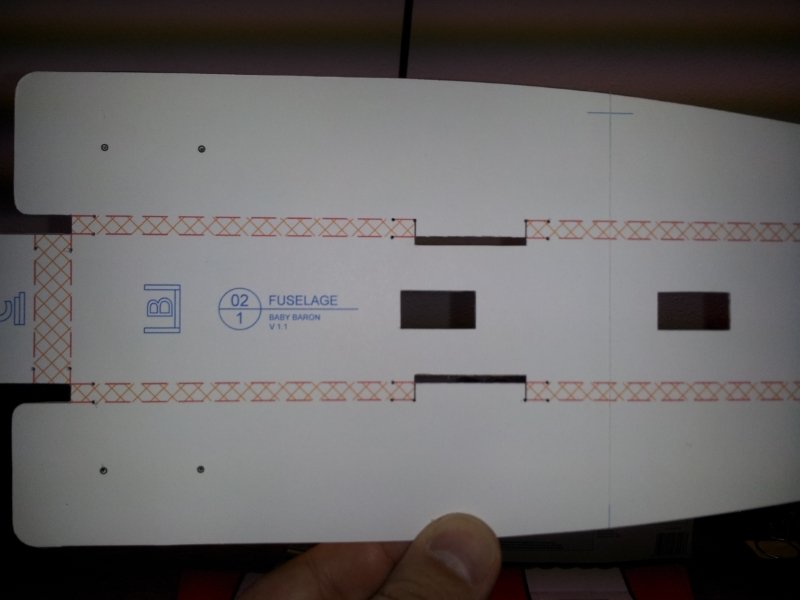
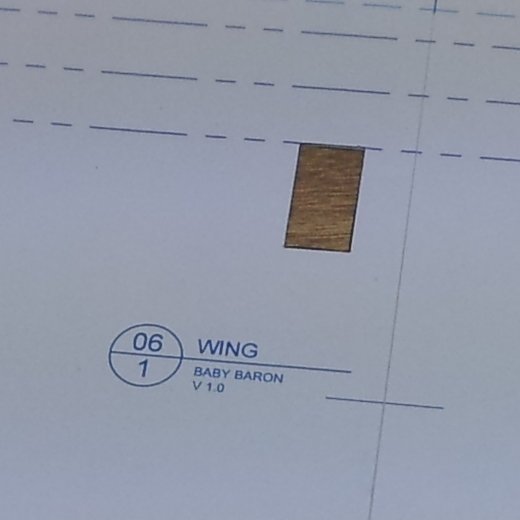
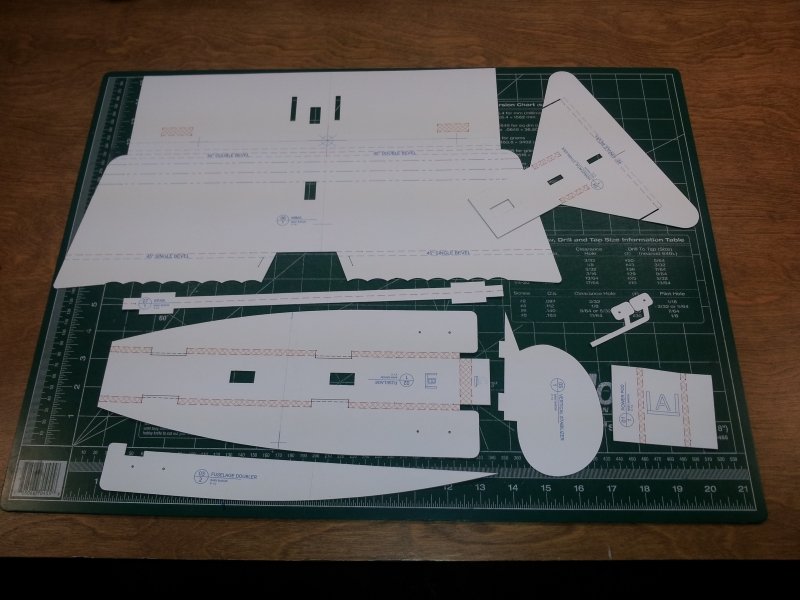
Once you have all the templates cut out, you are ready to use them to trace out the patterns on your foam board. You will also use the templates during the build as your instructions for your folds, score lines, reference lines, and cavities.
Transferring to Foam Board:
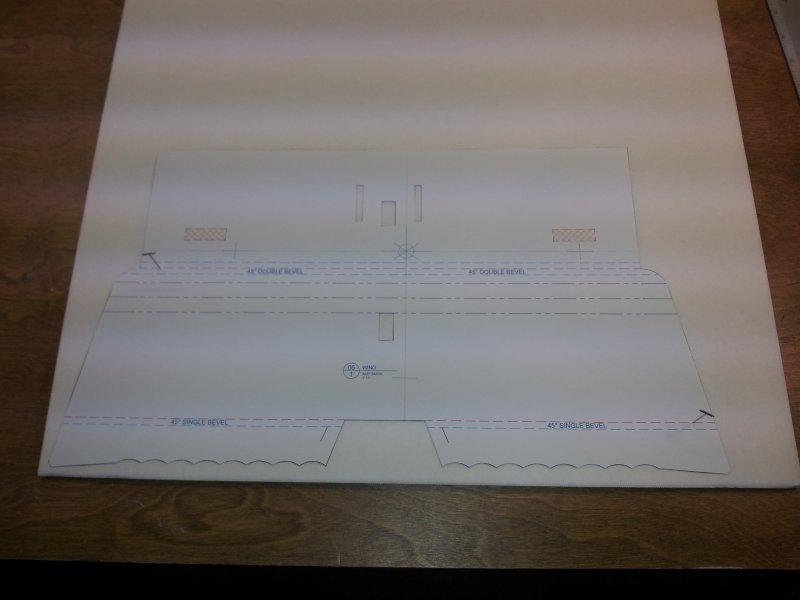
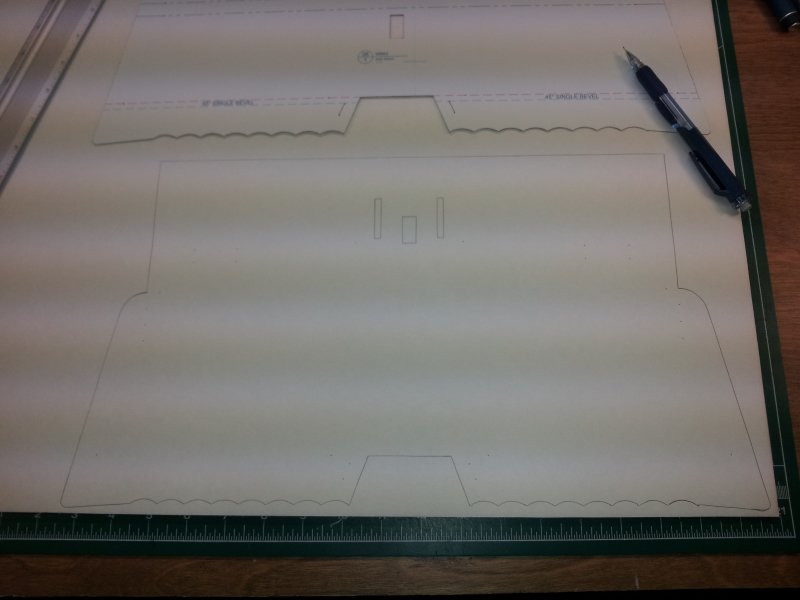
- Pin the template to the depron sheets using at least 2 pins to keep it from moving. Only pin through the top paper and part of the foam. Optionally you can use weights to help hold the template in place for tracing.

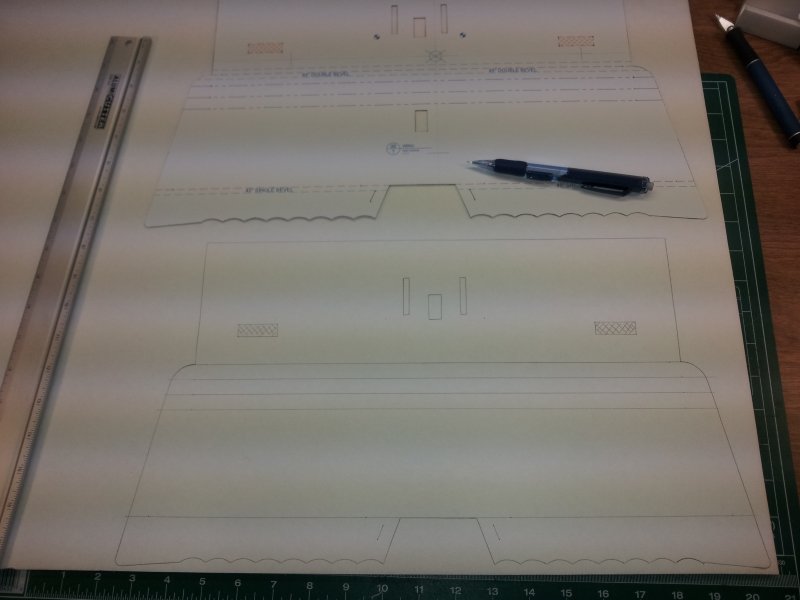
- Trace around the outside of the template onto the foam board with a mechanical pencil. Also, trace any cutouts on the inside of the part.
- Mark all the holes (score, crease, and reference lines) in the template with a mechanical pencil

- Remove the pins and the poster board template and check to make sure your lines transferred. If you missed anything, you can easily realign the template using the same pinholes to locate it.

- Connect the dots for your score, crease and reference lines using a straight edge and a mechanical pencil

- Once the parts of the Rc plane are fully transferred to the foam board you are ready to cut it out.

Storing Your Templates:
I also use a poster board to make a folder to store each of my templates in. Simply fold a full sheet of poster board in half to make a folder. I tape one of the loose sides together to keep the pieces from falling out easily. You can easily label the template folder using a sharpie.

Creating your own templates with a poster board is relatively easy and inexpensive. It does take a little more time upfront before you can get that first RC plane built. But, if you build more than one, or need a replacement part or two, you will be saving time in the long run.
step 4: Assemble the RC plane!
For the detailed guide follow this tutorial by these guys they are absolute magic!
- Step 1: Transfer all your ideas and designs of the model onto a foam board. This will make functions smooth and easy for you. Besides, you would also find it easier to work with glue on such a surface.
- Step 2: The next step involves making the fuselage. This can be done in three parts. First up, you would have to make the portion of the tail, followed by the central part which is just a box and finally the nose. All of these can be glued together to form the fuselage.
- Step 3: Next up is one of the most important parts of this process. This involves attaching the electronic components around the fuselage. For starters, the ESCs and BEC are attached on the outside of the fuselage so that when the plane flies in the air, these don’t get too heated up and can be kept cool. The receiver goes inside the fuselage and it is followed by the battery. Finally, the rudder servo is glued to the stabilizer which in turn is attached to the fuselage.
- Step 4: It is imperative to build a motor mount, one that is strong enough to stay intact even when the plane is flying at high speeds. This can be done by taking two pieces of insulation foam which are then attached to the sides and bottom of the fuselage. You need to wait till the glue becomes absolutely dry, after which you can attach the motor and be ready with it.
- Step 5: Choosing and attaching the wing is probably the most difficult step of the lot. This is especially true for large RC planes where the wings need to be strong to hold its ground even in windy conditions. The servos are glued onto the wing so that the wires stay within the wing and don’t run outside.
- Step 6: Now, some other attachments are required to be done. The wing is mounted keeping in mind the center of gravity of the fuselage. The batteries should be kept at a place from where you can move them a few inches in front or backward to make some adjustments. For the dowels, it would be best to use a pointed tool like a screwdriver for making the initial holes.
- Step 7: Now, for inserting the control horn pushrod, you would be required to unscrew the servo arm. After that, you could attach the pushrod through the servo arm and then insert the control horn. Thereafter, the servo rod can be screwed back onto the servo.
- Step 8: The landing gear is indeed an optional component of the RC plane.
DO WATCH THE VIDEO LINKED ABOVE!
TESTING YOUR RC PLANE
THE GLIDE TEST
CONTROL DIRECTION AND MOTOR ROTATION TESTFLIGHT TEST
Well, now that you finally managed to put everything together, it’s time to take your contraption for a little testing. Here are some tests to follow:
Hold the plane a little above your head and run along with it. Thereafter, let it go for one or two seconds.

If the RC plane dips in the front, it has a heavy nose; if it tries to flip backward, its tail is heavy. If it remains steady, your device is ready.
Take your newly built device out for a spin and check all the different motor functions. Ensure that you try out all the keys on the controls including the right and left sticks.
The flight test is more like your own test to check if all your designs and calculations hold ground. Make a range test to check how far you can take the device. Once that is done, take the plane out and let it hover around about a foot above your head. This will give you a good insight into the flight characteristics.
So all set? Go and grab all the required equipment, and make an RC plane for yourself. Good luck!


0 Comments